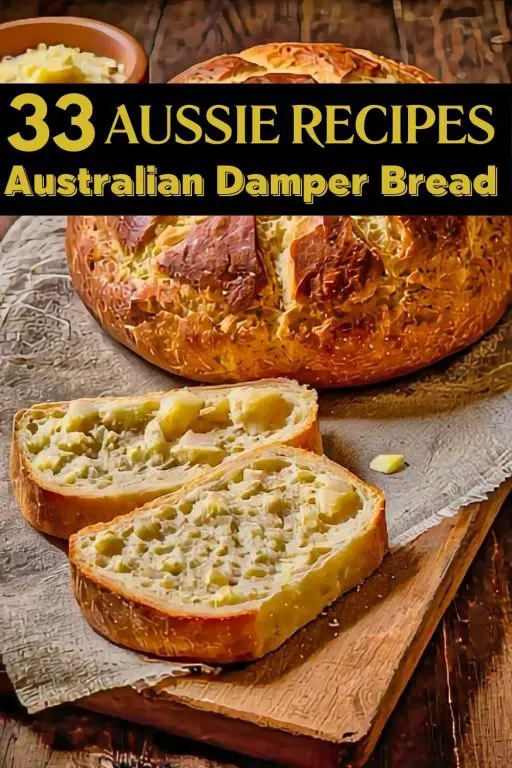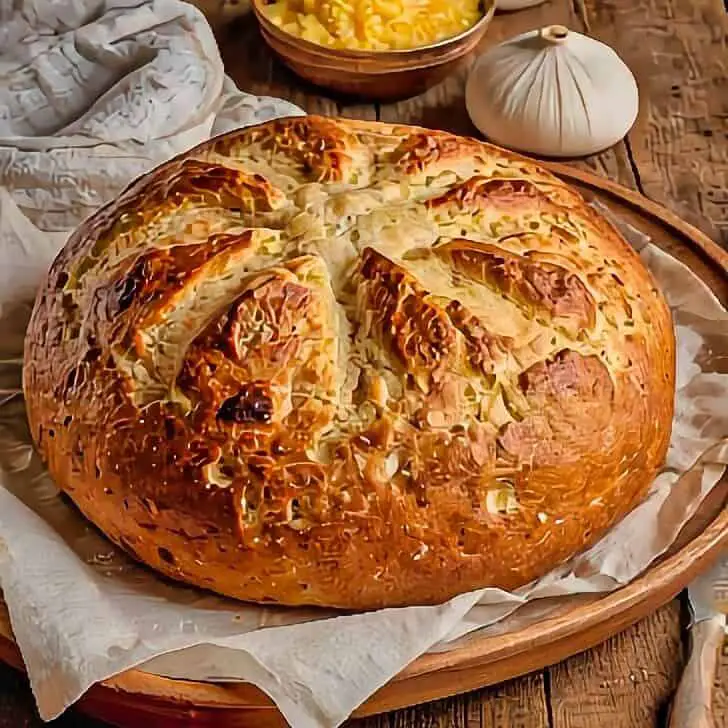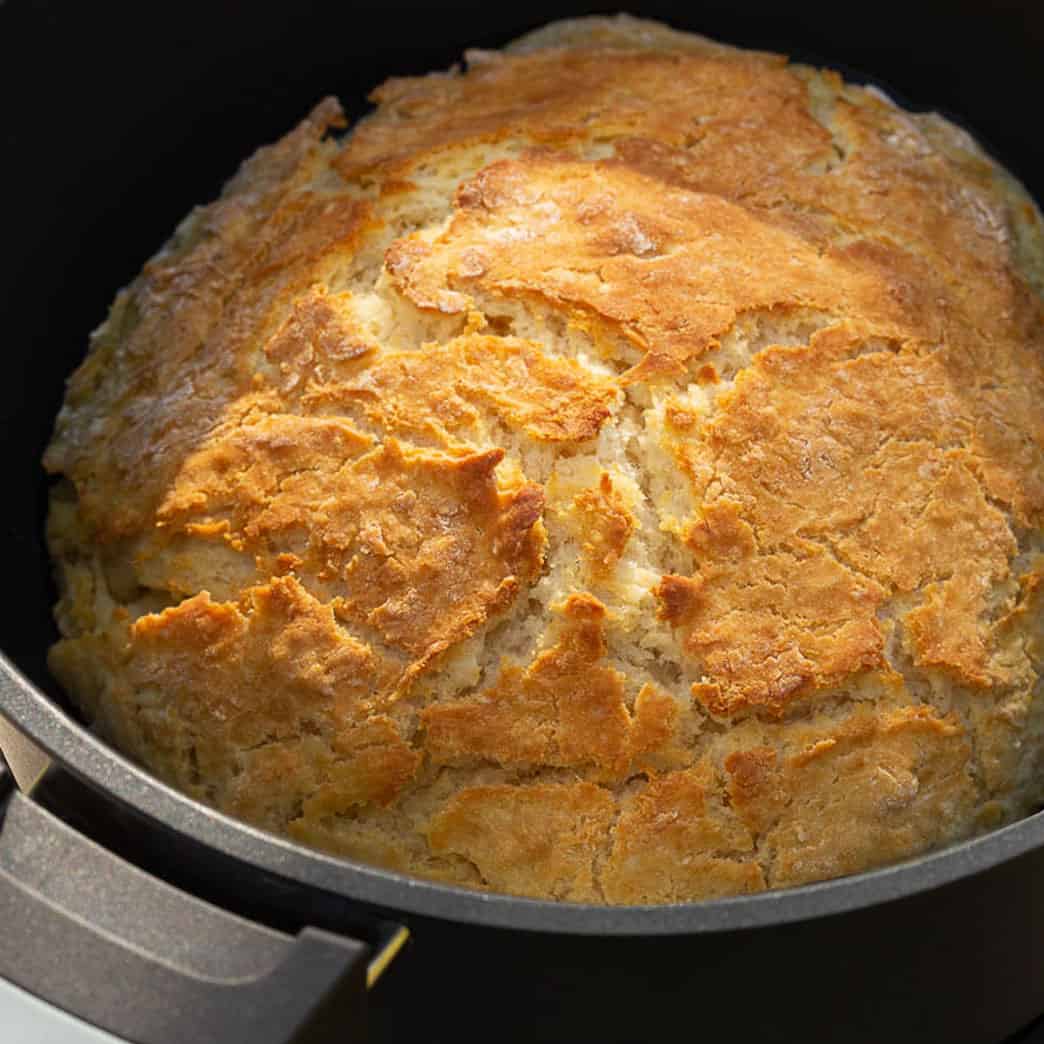
The Enduring Legacy of Damper Bread: A Taste of Australian Bush Tradition
For centuries, the humble damper bread has been more than just a food item; it’s a symbol of resilience, resourcefulness, and the enduring spirit of the Australian bush. Born from the necessity of early settlers, explorers, and Indigenous Australians alike, damper is a testament to making delicious sustenance from the simplest of ingredients. Its distinctive crust, airy crumb, and adaptability have cemented its place as a beloved icon of Australian culinary heritage.
The origins of damper are somewhat shrouded in the mists of time, with various accounts attributing its creation to different groups. What is undeniable is its deep connection to the vast, resource-scarce Australian landscape. Early European settlers, venturing into the Outback, found traditional yeast-based breads difficult to make due to the lack of consistent access to ovens and reliable yeast cultures. They needed a bread that could be cooked over an open fire, a method readily available in their surroundings.
Indigenous Australians, long before the arrival of Europeans, had their own methods of preparing bread-like foods from native grains, seeds, and tubers. While not identical to the damper we know today, these traditions highlight a long history of utilizing the land’s bounty for sustenance. The damper that emerged in the colonial era can be seen as a fusion of necessity and the existing knowledge of baking with local resources, adapted to the available ingredients.

The beauty of damper lies in its inherent simplicity. At its core, it’s a flour and water dough, leavened traditionally by the addition of a raising agent. Historically, this could have been ashes from a campfire, which contained alkaline salts that aided in leavening. Over time, as ingredients became more accessible, self-raising flour, baking soda, or baking powder became the common choices for leavening, making the process even more straightforward.
The traditional method of cooking damper is as integral to its character as its ingredients. It was, and often still is, cooked directly in the embers of a campfire or in a camp oven – a heavy cast-iron pot with a lid that could withstand the heat. This cooking method imparts a unique smoky flavour and a wonderfully rustic, often charred, crust that is highly prized. The dough, wrapped in greased paper or foil, or simply placed directly on hot ashes, would bake, transforming into a hearty loaf.
The taste of damper is distinct. It’s not a fluffy, delicate bread. Instead, it offers a satisfying chewiness, a robust flavour that speaks of its origins, and a crust that provides a delightful textural contrast. It’s the perfect vehicle for rich, savoury toppings like golden syrup, butter, jam, or even hearty stews and campfire-cooked meats. Its simplicity allows the quality of the ingredients and the rustic cooking method to shine through.
Beyond its basic form, damper is remarkably versatile. Variations abound, reflecting regional differences, personal preferences, and the availability of additional ingredients. Some recipes incorporate milk or buttermilk for a richer crumb, while others might add a touch of fat like lard or butter for added tenderness. Sweetened versions often include sugar or honey, and savoury variations might feature herbs, cheese, or even finely chopped onions mixed into the dough.
The cultural significance of damper cannot be overstated. It represents a connection to the land, to the pioneers who forged a life in the Australian wilderness, and to the Indigenous custodians who have lived in harmony with it for millennia. Sharing damper around a campfire is a ritual that evokes a sense of camaraderie and shared experience. It’s a reminder of simpler times, of self-reliance, and of the profound connection between food and place.
In contemporary Australia, damper continues to be enjoyed in various settings. While many may not have access to a campfire daily, the spirit of damper lives on. It’s a popular choice for camping trips, outdoor festivals, and even as a nostalgic bake for those wanting to reconnect with their heritage. Modern kitchens can easily replicate the charm of damper with a conventional oven, though the campfire cooked version will always hold a special place in the hearts of many.
The act of making damper is often a communal one. Children are frequently involved, helping to mix the dough and witness the transformation in the fire. It’s a hands-on experience that fosters an appreciation for where food comes from and the effort involved in its creation. The anticipation of the warm, freshly baked damper, its aroma filling the air, is a reward in itself.
The Art of the Campfire Cook:

Cooking damper over a campfire requires a bit of skill and understanding of heat management. The key is to create a bed of glowing embers, not roaring flames. The ashes from these embers provide a consistent, dry heat.
- Preparation is key: Ensure your campfire has been burning for a while and has settled into a good bed of coals.
- Direct Ash Method: This is the most traditional. Shape your dough into a round loaf, flatten it slightly, and place it directly onto the hot ashes. You’ll need to turn it periodically to ensure even cooking. The outer layer will become delightfully charred and crispy.
- Camp Oven Method: This offers more control. Place the dough inside a greased camp oven, cover with the lid, and place the oven directly onto the embers, with more embers piled on top of the lid. This creates an oven-like environment.
- Foil/Paper Wrapped Method: For a cleaner approach, wrap the dough tightly in several layers of greased foil or baking paper. Bury this package in the hot ashes. This method helps retain moisture and prevents the dough from directly touching the ashes.
The cooking time will vary depending on the heat of your fire and the size of your damper, but typically ranges from 20-40 minutes. You’ll know it’s ready when it sounds hollow when tapped on the bottom and the crust is golden brown (or delightfully charred!).
A Taste of the Outback in Your Kitchen:
While the campfire experience is unparalleled, you can still capture the essence of damper in your home kitchen. Modern ovens can mimic the dry, hot heat required, and using a cast-iron pot or baking stone can further enhance the crust.
Damper Bread: A Recipe for the Modern Kitchen
This recipe is a straightforward, reliable version of damper that can be made with readily available ingredients in a conventional oven. It captures the rustic charm and satisfying taste of the traditional bush bread.
Damper Bread: Traditional Recipe (Modern Kitchen Adaptation)
This recipe focuses on simplicity and flavour, allowing you to recreate the iconic Australian damper in your own home.
Yields: 1 large loaf
Prep time: 10 minutes
Cook time: 30-40 minutes
Ingredients:
- 2 cups (250g) self-raising flour (or 2 cups all-purpose flour + 2 teaspoons baking powder)
- ½ teaspoon salt
- 1 cup (240ml) cold water (you may need slightly more or less)
- Optional: 1 tablespoon milk or buttermilk for a softer crumb
- Optional: 1 tablespoon melted butter or lard for added richness
Equipment:
- Large mixing bowl
- Measuring cups and spoons
- Baking sheet or cast-iron skillet/pot
- Oven
Instructions:
- Preheat your oven: Preheat your oven to 200°C (400°F). If using a cast-iron skillet or pot, place it in the oven while it preheats to get it hot.
- Combine dry ingredients: In a large mixing bowl, sift together the self-raising flour (or all-purpose flour and baking powder) and salt. This helps to ensure an even distribution of the raising agent and prevents lumps.
- Add wet ingredients: Make a well in the center of the dry ingredients. Gradually pour in the cold water, stirring with a knife or your hands until a shaggy dough begins to form. If using milk or buttermilk, add it with the water. If you’re adding melted butter or lard, you can mix it in at this stage as well.
- Tip: The amount of water needed can vary depending on the humidity and the type of flour. Add just enough water for the dough to come together. It should be firm but not sticky.
- Knead briefly (optional): Lightly flour a clean surface. Turn the dough out onto the floured surface and knead it gently for about 30 seconds to 1 minute, just until it comes together into a cohesive ball. Over-kneading can make the damper tough.
- Shape the damper: Gently shape the dough into a round, slightly flattened loaf, about 1.5-2 inches thick. You can also shape it into a more rustic, freeform shape.
- Prepare for baking:
- On a baking sheet: Lightly grease a baking sheet or line it with parchment paper. Place the shaped damper onto the prepared baking sheet. You can score the top with a knife if desired.
- In a cast-iron skillet/pot: Carefully remove the preheated cast-iron skillet or pot from the oven. If you want a very crisp bottom crust, you can place the damper directly into the hot skillet. Alternatively, you can grease the skillet and place the damper inside.
- Bake: Place the damper in the preheated oven.
- Bake for 30-40 minutes, or until the crust is golden brown and sounds hollow when tapped on the bottom. If the top is browning too quickly, you can loosely tent it with foil.
- Cool and serve: Once baked, carefully remove the damper from the oven. Transfer it to a wire rack to cool slightly. Damper is best served warm.
Serving Suggestions:
Damper is incredibly versatile and delicious served in a variety of ways:
- Classic: Slathered with butter and a generous drizzle of golden syrup.
- Sweet: With your favourite jam, honey, or even a dollop of whipped cream.
- Savoury: Alongside hearty stews, soups, or grilled meats.
- With Cheese: Serve with a slice of cheddar cheese.
- Campfire Style: If you’re lucky enough to be camping, enjoy it straight from the fire, with whatever simple provisions you have on hand.
Variations:
- Herb Damper: Add 1-2 tablespoons of finely chopped fresh herbs like rosemary, thyme, or chives to the dry ingredients.
- Cheese Damper: Mix ½ cup of grated cheddar cheese into the dough with the dry ingredients.
- Sweet Damper: Add 1-2 tablespoons of sugar or honey to the dough. You can also add a pinch of cinnamon.
Enjoy your taste of Australian bush tradition!
The Enduring Appeal:
Damper bread, in its many forms, remains a powerful link to Australia’s past. It speaks of ingenuity, the ability to thrive in challenging environments, and the simple pleasure of good food shared with good company. Whether cooked over a crackling campfire or baked in a modern oven, the spirit of damper endures, offering a delicious and meaningful connection to the heart of Australia. Its legacy is a testament to the fact that sometimes, the most profound flavours can be found in the simplest of ingredients, prepared with a touch of tradition and a whole lot of heart.

